Accurate monitoring of electrical currents within machinery can help to prevent safety hazards such as short circuits, overloading, and damage to equipment. For that reason, it is vital to carefully calibrate the current sensors and transducers, which are used to convert the flow of electric current into a form that can be understood and used by a device. When current sensors aren't calibrated correctly, the output is affected. Here’s what you need to know to keep them functioning properly.
Understanding Current Sensors and Transducers
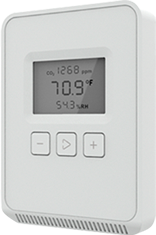
A current sensor detects electrical current and quantifies the flow of electrons through a wire. A current transducer is similar but takes that alternating or direct electrical signal and converts it into a proportional industrial standard electrical signal usable by electrical devices.
There are different types of sensors including hair effect sensors, current transformers, Rogowski coils, and shunt resistors. There are also several key specifications and considerations to keep in mind when selecting a current sensor.
- Accuracy and precision
- Electrical specifications
- Environmental factors
- Output interface
Discover more about each of these and their impact. There are key features to look for when choosing a current sensor.
Preparing for Setup
Before you set up a new sensor or transducer, you need to:
- Gather the necessary tools and equipment
- Familiarize yourself with the current sensor's datasheet. If you purchased your product from the Veris website, then you will find it comes with an installation guide in the form of a PDF. It also comes with a datasheet and other useful documents.
- Identify the installation location and consider safety precautions
Make sure to keep the instruction manual with you as you begin the setup process.
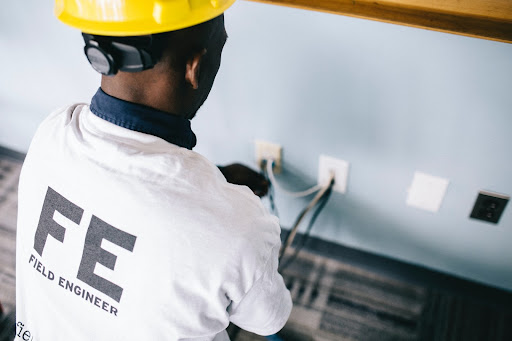
Physical Installation of the Current Sensor
Once you're ready to install the sensor:
- Select the appropriate location and mounting method
- Ensure proper electrical connections and wiring techniques
- Secure the current sensor and minimize external interference
Following this installation, you'll need to take steps to calibrate your device.
Calibrate Your Device
Sensor calibration is important for:
- Better accuracy
- Regulatory compliance
- Measurement confidence
- Consistency during use
Once a current sensor is properly installed, the next step is to calibrate it according to your product's instruction manual.
It is important to calibrate your sensor for:
- Better accuracy
- Regulatory compliance
- Measurement confidence
- Consistency during use
Refer to your product’s specific installation guide, which you can find below information about your product on the product page. Here's what it looks like:

Testing and Validation
Now, it's time to test and validate the installation.
- Conduct initial tests to verify the sensor's functionality
- Compare the measured current with a known reference (i.e. another device that is already installed/calibrated and known to be accurate)
- Iterative adjustments and validation checks for accuracy
If everything is working well, you're finished. If not, check out some common challenges and troubleshooting options.
Common Challenges & Troubleshooting Tips
Now that you know the steps for how to calibrate a current sensor or how to calibrate a current transducer, here are some common challenges and tips to resolve them.
Incorrect wiring
If a sensor is wired incorrectly, it may not work or may begin to overheat.
- Troubleshooting tip: Verify all connections are properly tightened, and verify the sensory is orientated correctly and there are no damaged or loose wires.
External interference
External interference can lead to noise, signal distortion, and other issues.
- Troubleshooting tip: Keep sensors away from high-voltage lines, power supplies, and other devices that can cause noise or signal distortion.
Grounding issues
Grounding issues may lead to hot wires, voltage fluctuations, and ground loops.
- Troubleshooting tip: Ensure proper grounding of current sensor and associated equipment according to the instruction manual.
Calibration drift
Calibration drift, the slow change in how a gauge responds, can be caused by environmental changes, exposure to harsh conditions, and other issues.
- Troubleshooting tip: Calibrate sensors regularly to minimize the risk of drift.
Sensor damage/fault components
Sensor damage signs can include corrosion, broken cabling, low voltage, and errors.
- Troubleshooting tip: Refer to manufacturer’s documentation and reach out to the technical support team if needed.
Ready to Install Your Sensors?
To get the most out of your sensors, it's necessary to both install and calibrate them correctly. Head to the Veris website to find the specific installation manual including the calibration instructions for the product you've purchased.

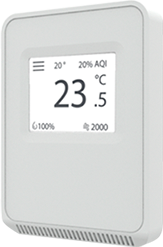
Indoor Air Quality Monitors
Comply with indoor air quality standards for healthy and safe building environments